Snapshot Management Using Lifecycle Manager
Updated
•3 min read
T
Cloud & SRE specializing in AWS and DevOps. I share my ongoing learning journey through practical tutorials and insights. Let's grow together.
- Open the
EC2console page from AWS Console
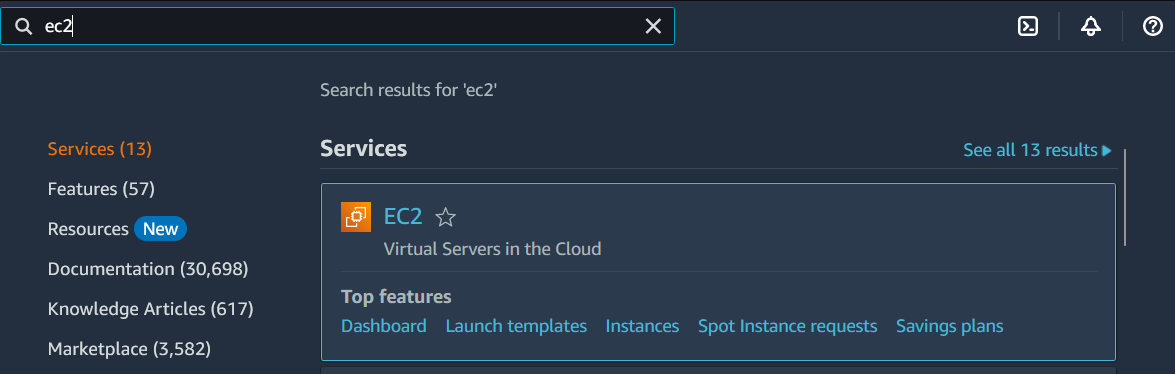
1. Accessing the EC2 Console
- Click on
Lifecycle Manageron the left side menu and there is no lifecycle policies defined on the welcome screen.
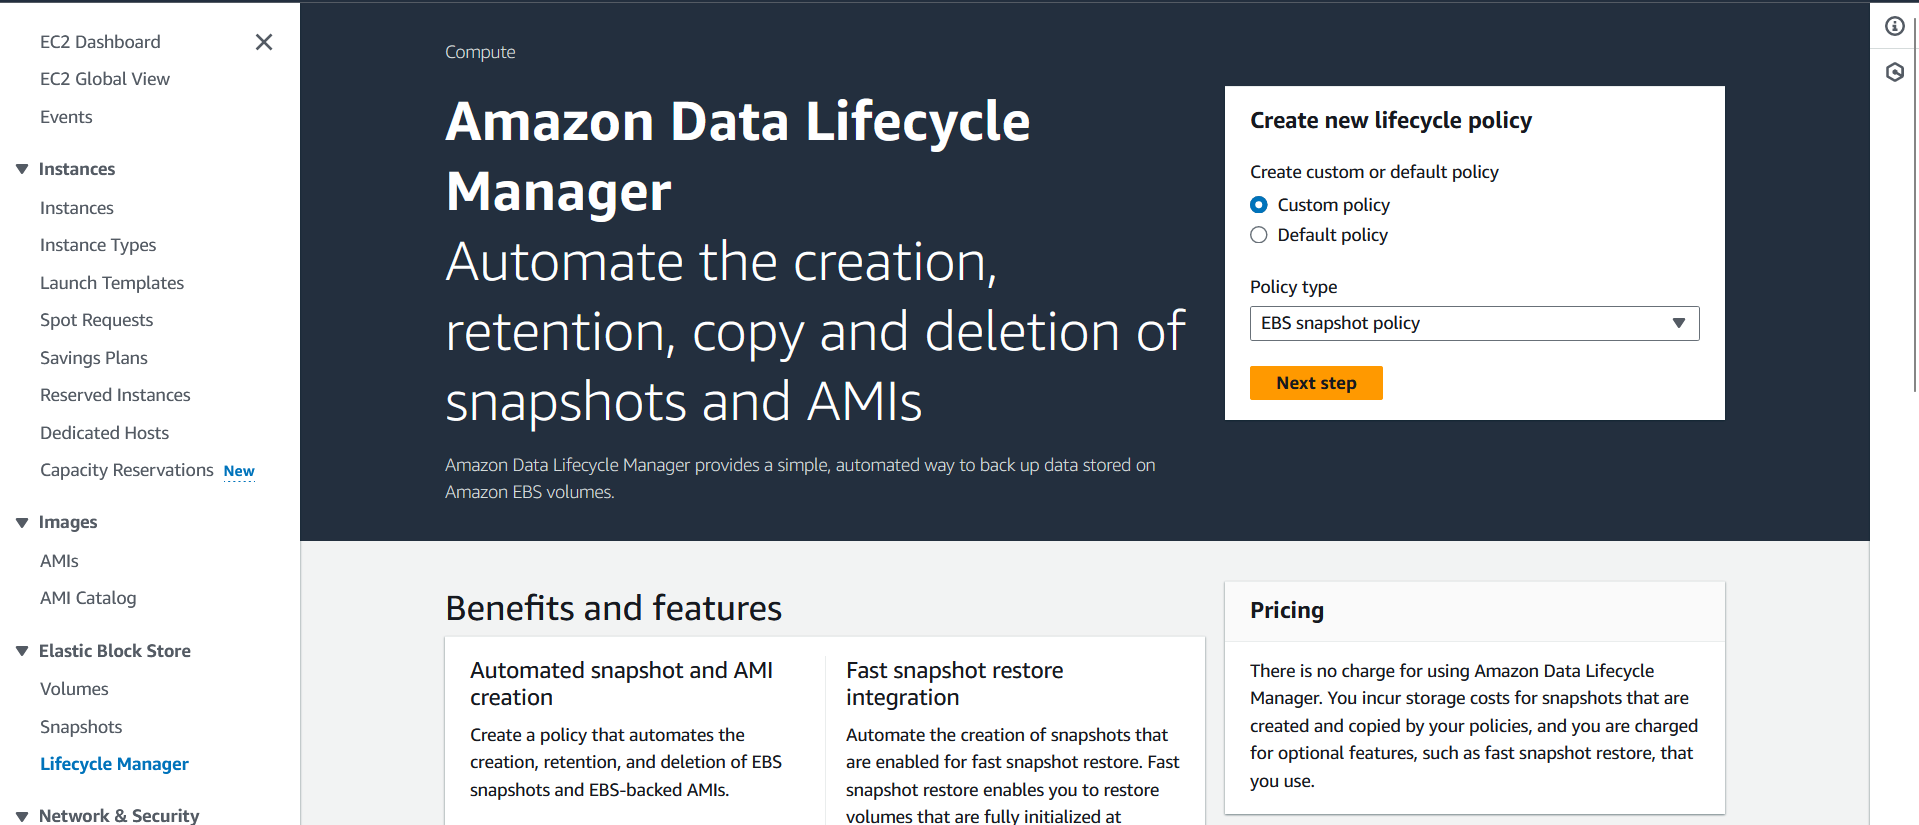
2. Checking Lifecycle Manager
- Click on
Snapshotson the left side menu
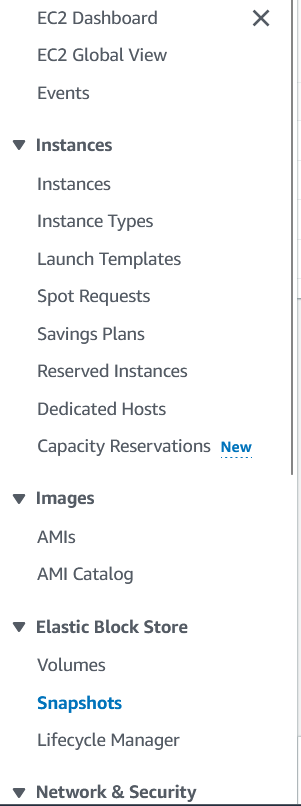
3. Verifying Existing Snapshots
- Filter the snapshots using the "environment" tag key and you will see there is no snapshot

4. Creating a Prod Snapshot Policy
- Click on
Lifecycle Manageron the left side menu and clickNext step

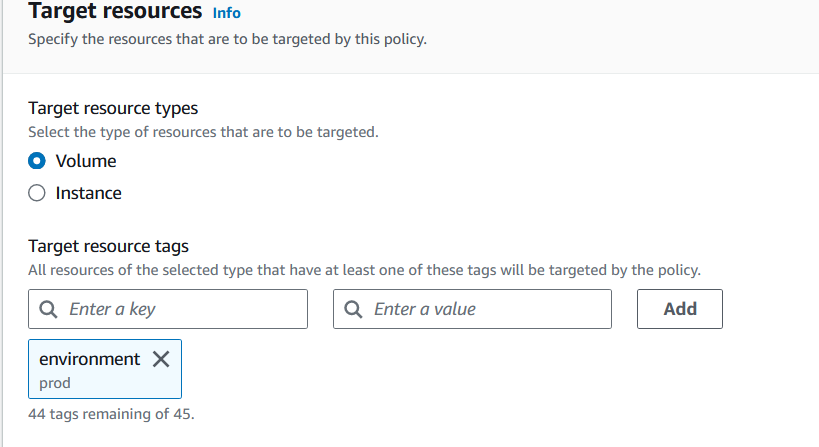
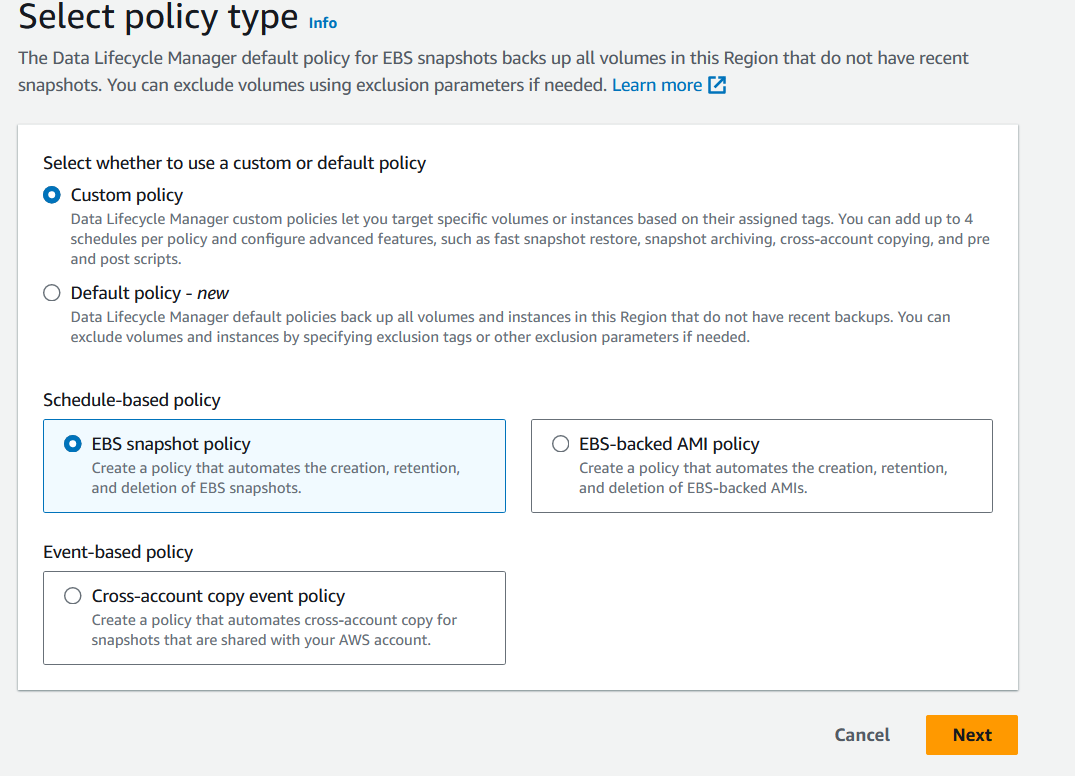
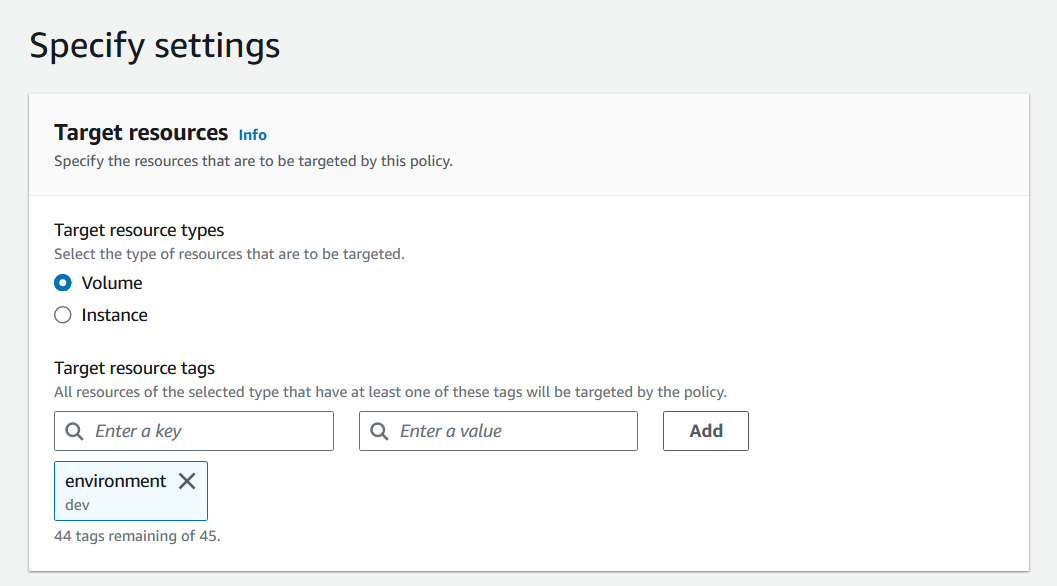
4.1. Policy Setup & Target Tags
- Click on
Target resource tagsand selectenvironmentandprodas the tag key
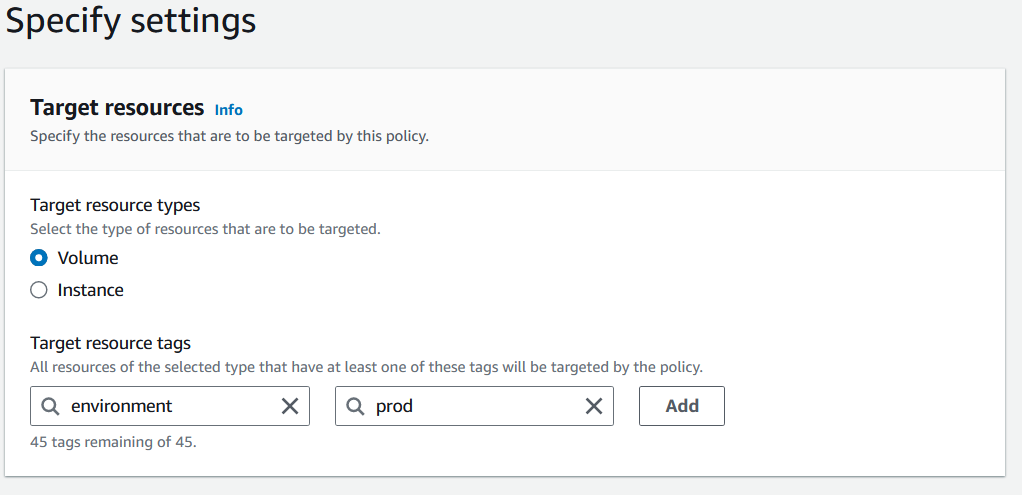
- Click
Add
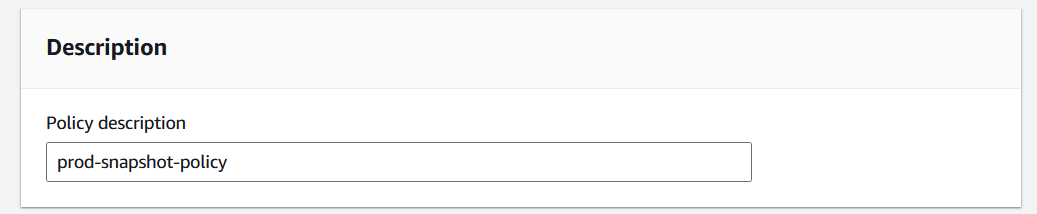
4.2. Policy Description & IAM Role
- Write prod-snapshot-policy at
Policy description
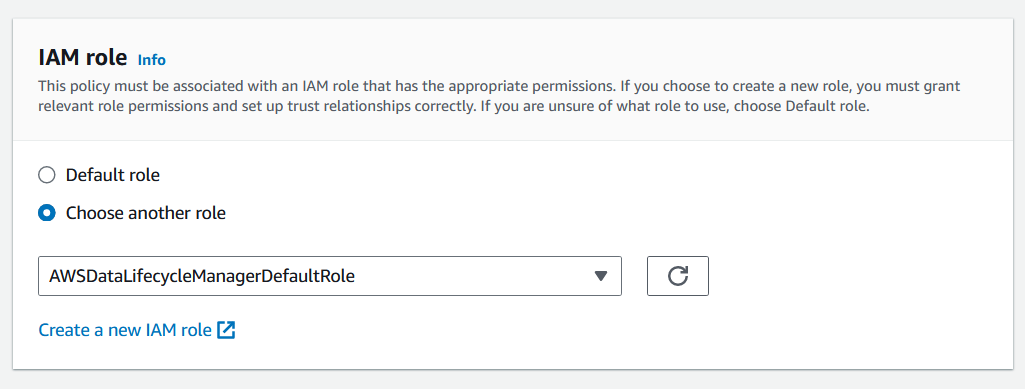
- Select
Choose another roleand selectAWSDataLifecycleManagerDefaultRole
- Click
Next

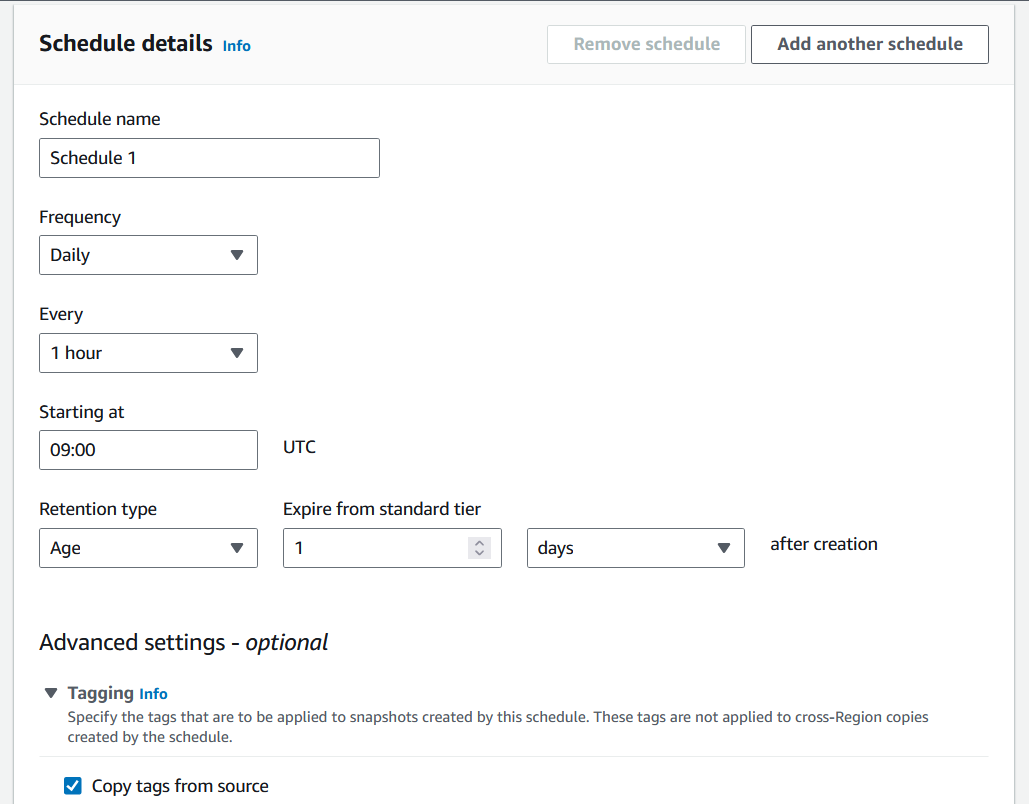
4.3. Schedule Configuration
Fill the information:
Schedule name-Schedule 1Frequency-DailyEvery-1 hourStarting at-09:00Retention type-AgeExpire from standard tier-1after creation-days
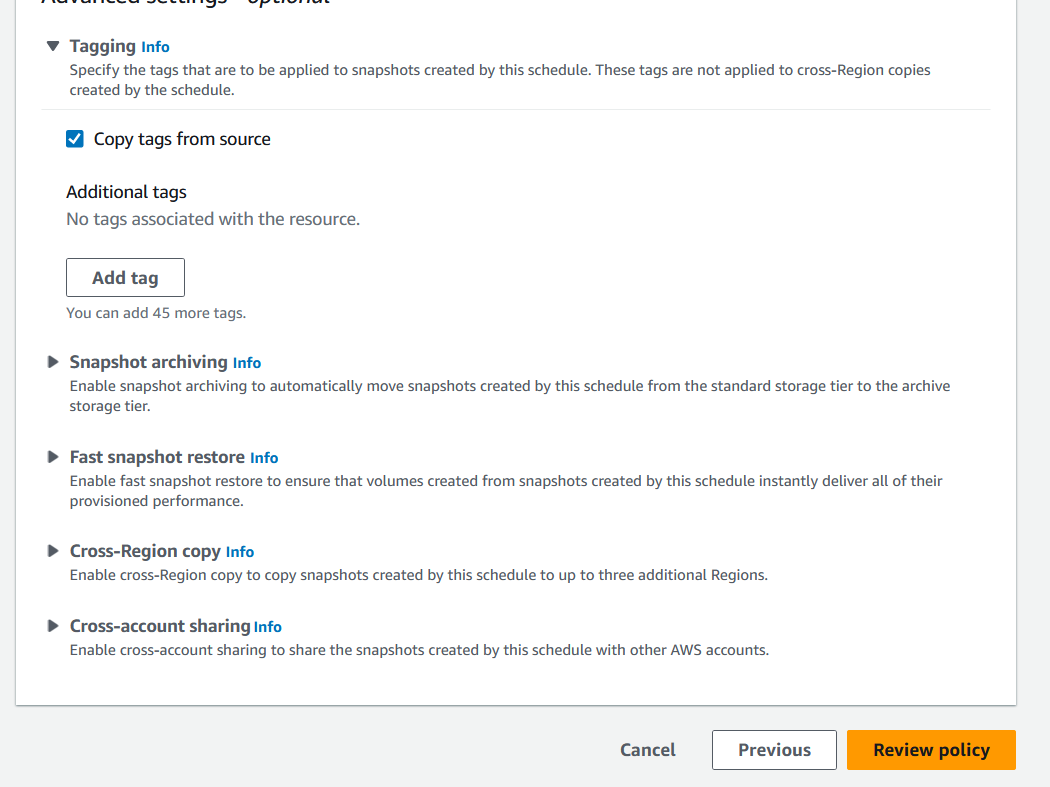
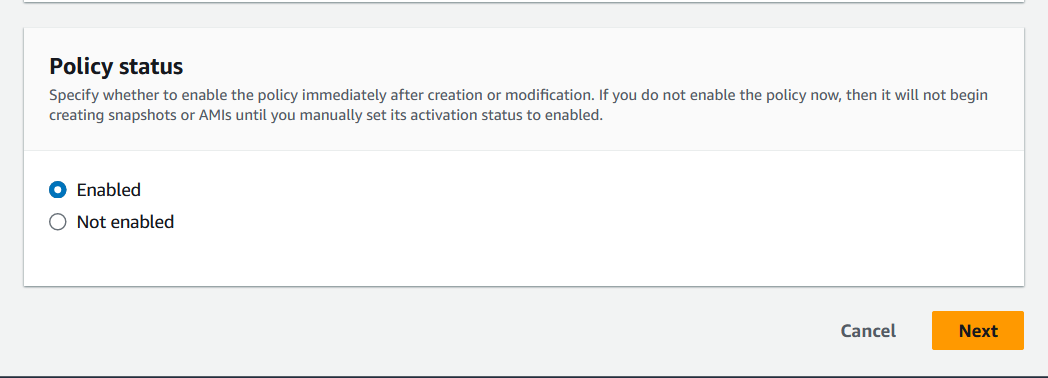
and Click checkbox of Copy tags from source
4.4. Policy Review and Creation
- Click
Review policy
- Click Create policy`

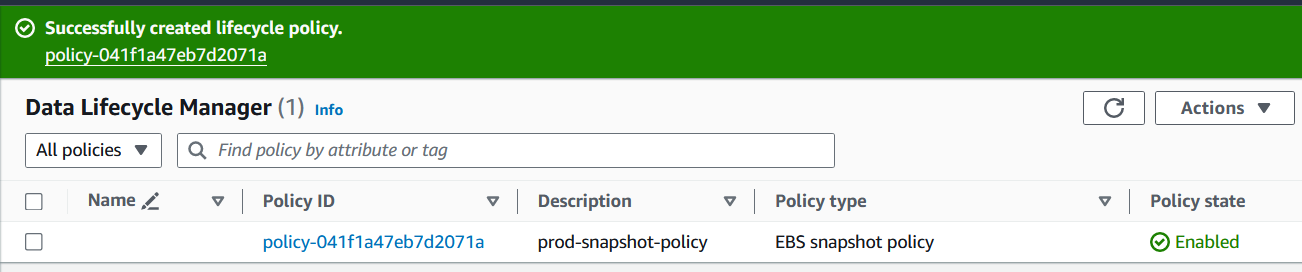
4.5 Policy Creation Result
- Now The policy should be created like this
5. Creating a Dev Snapshot Policy
Let create another policy for
environment:devSelect
Custom policySelect
EBS snapshot policyClick
Next
5.1 Policy Type & Target Tags
- Click on
Target resource tagsand selectenvironmentanddevas the tag key and clickAdd
- Click on
5.2. Policy Description & IAM Role
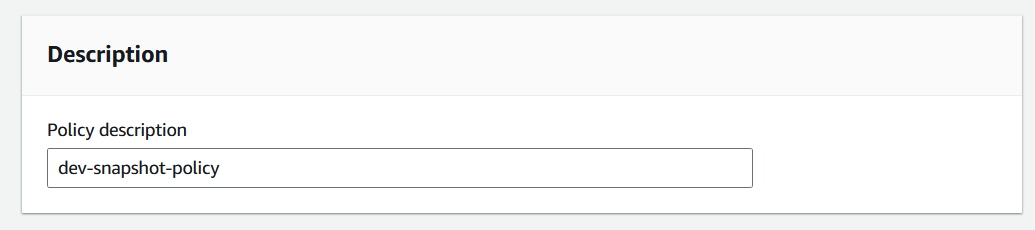
- Write dev-snapshot-policy at
Policy description
- Select
Choose another roleand selectAWSDataLifecycleManagerDefaultRole

- Click
Next
5.3. Schedule Configuration
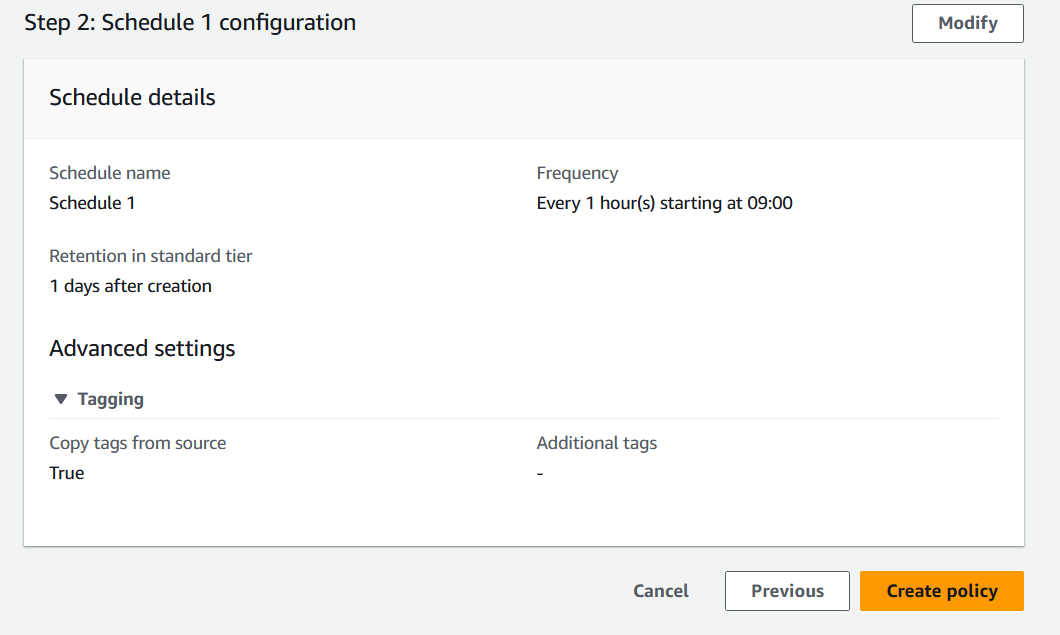
Fill the information:
Schedule name-Schedule 1Frequency-DailyEvery-1 hourStarting at-09:00Retention type-AgeExpire from standard tier-1after creation-days
and Click checkbox of Copy tags from source

5.4. Policy Review and Creation
- Click
Review policy

- Click Create policy`
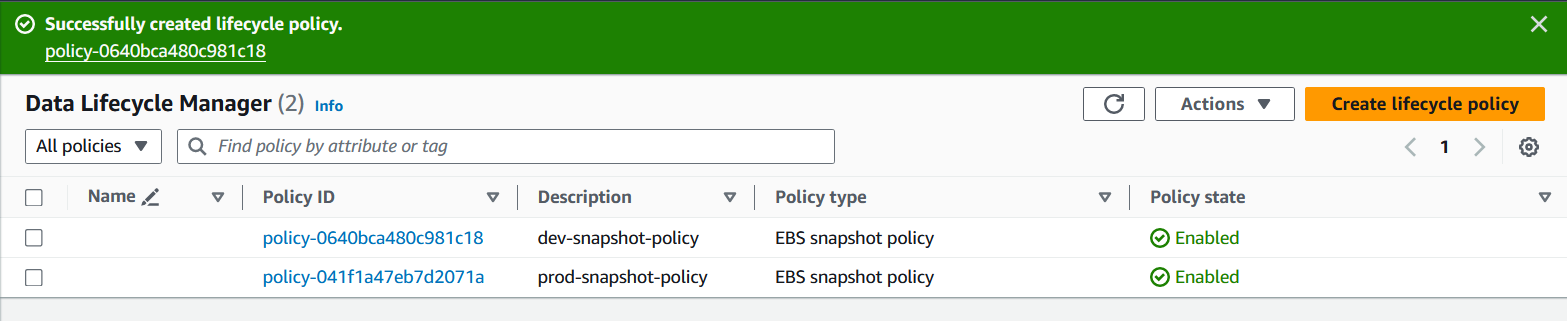
6. Policy Creation Result
- Now The policy should be created like this
7. Verifying Automated Snapshots
- After a couple of hours of the prod and dev snapshot policies being created, you should be able to see the first snapshots created by Lifecycle Manager. The snapshots will have a tag key dlm:managed set to a value of "true".
Resources & Next Steps
- 📦 Full Code Repository: AWS Learning Labs - Get the complete, working code from this post
- 📖 More Deep Dives: Whispering Cloud Insights - Read other technical articles
- 💬 Join Discussion: DEV Community - Share your thoughts and questions
- 💼 Let's Connect: Linkedin - I'd love to connect with you
4 views


